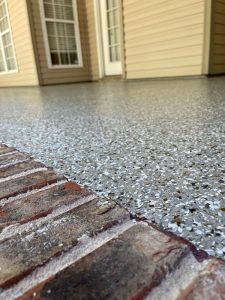
Garage floor coatings are a game-changer for anyone looking to enhance their garage’s durability, functionality, and style. But how are they installed? This step-by-step guide will walk you through the process, showing you what it takes to achieve a professional, long-lasting finish.
Why Choose Garage Floor Coatings?
Garage floor coatings provide more than just a sleek look. They protect your floor from wear and tear, resist stains and chemicals, and make cleaning a breeze. With options like epoxy and polyaspartic coatings, you can transform your garage into a functional and attractive space.
Step 1: Preparing the Garage Floor
Proper preparation is the foundation of a successful installation. Dust, dirt, and grease are removed using industrial cleaners. Any cracks or imperfections are filled with repair compounds to create a smooth surface. A diamond grinder or acid etching roughens the floor to ensure the coating adheres properly. This stage is critical to avoid peeling or bubbling after application.
Step 2: Applying the Primer Coat
A primer coat seals the concrete and creates a base for the main coating. It helps the coating adhere more effectively while adding an extra layer of protection. Professionals evenly spread the primer across the surface and allow it to cure.
Step 3: Adding the Base Coat
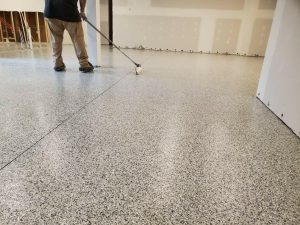
The base coat provides the durability and color of the final floor. It is applied evenly using a roller or squeegee for a smooth, flawless finish.
Step 4: Broadcasting Decorative Flakes (Optional)
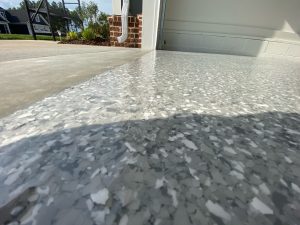
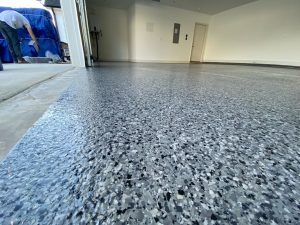
Decorative flakes are sprinkled over the wet base coat to add texture and style. They create a non-slip surface and enhance the floor’s visual appeal. You can choose flakes in various colors and sizes to match your design preferences.
Step 5: Sealing with the Topcoat
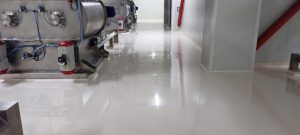
The topcoat is the final protective layer that locks in durability and shine. It resists UV rays, chemicals, and scratches while giving the floor a polished, professional look. After application, the floor needs time to cure before handling heavy traffic.
How Long Does the Process Take?
While preparation and coating application can be completed in a day or two, curing times vary. Most coatings take 24–48 hours to dry for light use and up to seven days for heavy use.
Why Hire Professionals for Installation?
Although DIY kits are available, professional installation ensures a flawless finish that lasts. Experts have the tools and experience to prepare the surface correctly, apply coatings evenly, and avoid common mistakes like peeling or bubbling.
Transform Your Garage with ICM Coating Masters
At ICM Coating Masters, we specialize in high-quality garage floor coatings that are durable, stylish, and built to last. Our expert team handles the entire process, from preparation to application, ensuring a flawless finish that elevates your space. Whether you’re looking to protect your floors or add a sleek, modern touch, we’re here to help. Contact ICM Coating Masters today for a free consultation and let us transform your garage into a space you’ll love!

